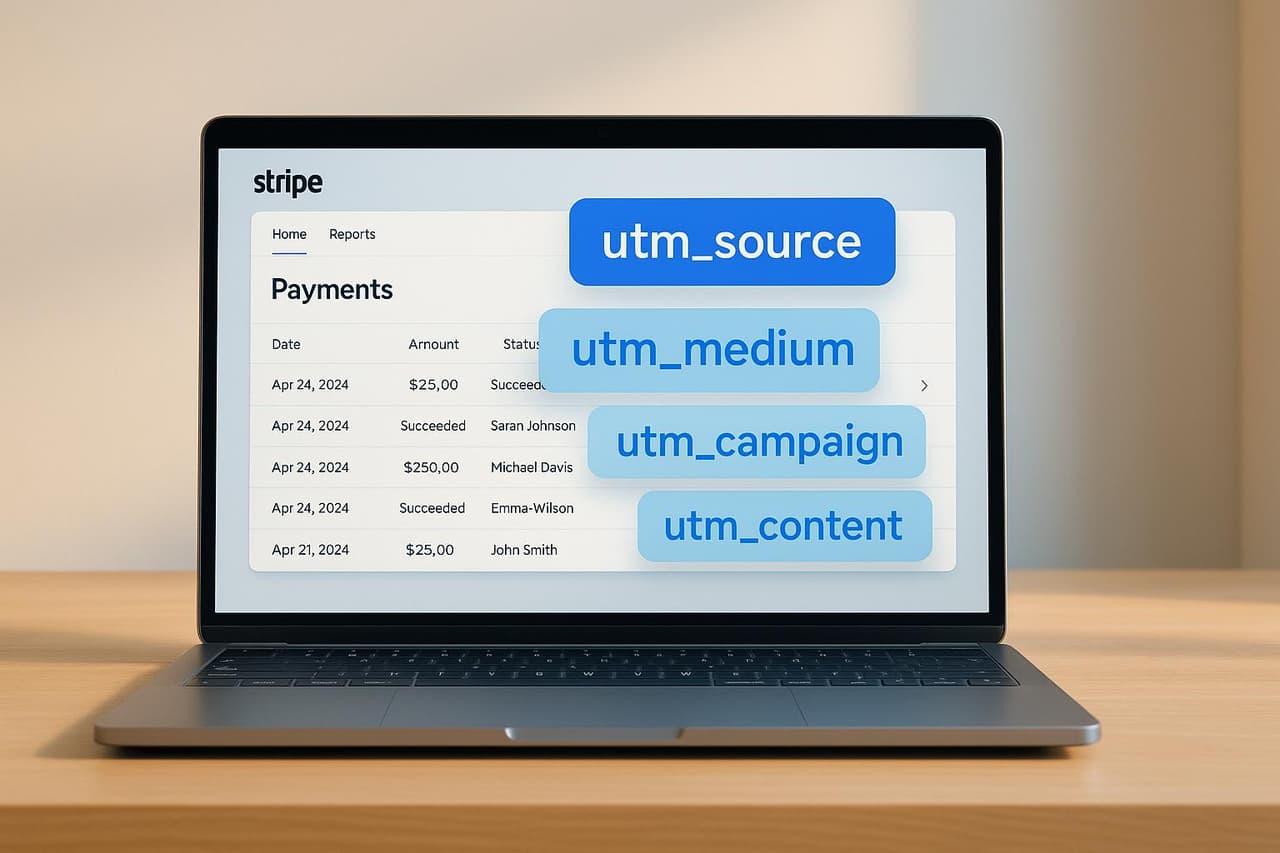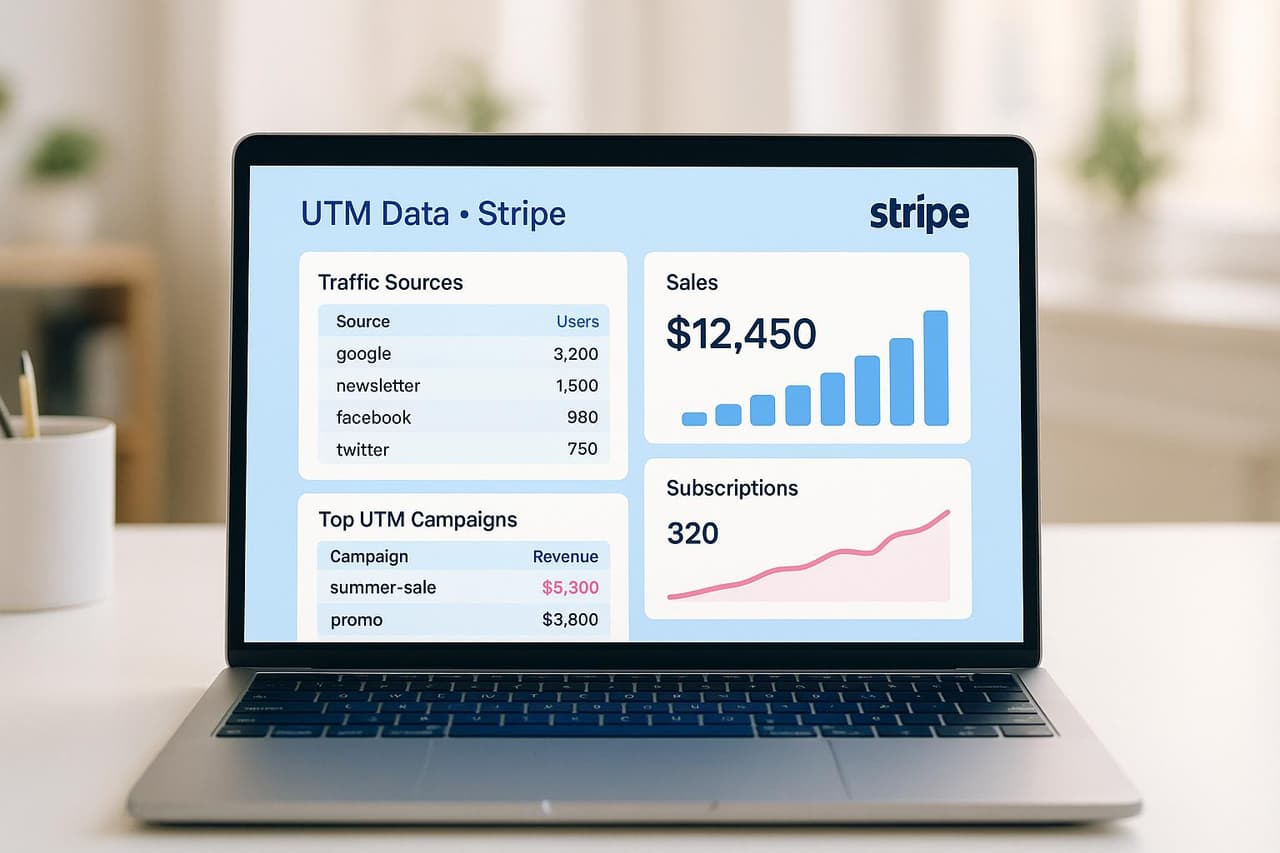
Tracking sales from YouTube platforms like Twitter, LinkedIn, and Product Hunt doesn't have to be complicated. Here's how you can set up a system to monitor Stripe sales effectively and make data-driven decisions:
-
Use UTM Parameters: Add UTM tags to your links to track traffic sources and campaigns. For example:
- Twitter:
?utm_source=twitter&utm_medium=social&utm_campaign=spring_launch_2025 - LinkedIn:
?utm_source=linkedin&utm_medium=social-cpc&utm_campaign=spring_launch_2025 - Product Hunt:
?utm_source=producthunt&utm_medium=referral&utm_campaign=launch_day_2025
- Twitter:
-
Integrate Stripe with Tracking Tools: Set up Stripe webhooks to capture sales data tied to UTM parameters. Use tools like Zapier or Make to automate workflows and connect Stripe with analytics platforms.
-
Analyze Data: Use Google Analytics 4 (GA4) to track conversions and revenue. Exclude
checkout.stripe.comfrom referrals to ensure accurate attribution. -
Leverage Dashboards: Build dashboards to monitor revenue, channel performance, and campaign ROI. Track metrics like customer acquisition cost (CAC) and lifetime value (LTV).
-
Experiment with QR Codes: Use dynamic QR codes for offline campaigns and additional tracking.
How to connect Stripe to Google Analytics - Easy Integration
 Stripe
Creating UTM Parameters for Sales Tracking
To effectively track Stripe sales, assign specific UTM parameters to each platform you’re using.
Building UTM Tags for Each Platform
Every social platform needs its own UTM parameters to ensure accurate tracking. Here’s how you can structure them:
Stick to clear and consistent naming conventions across all platforms. For paid campaigns, include utm_content to distinguish between ad variations and utm_term for keywords you’re targeting.
UTM Parameter Naming Guidelines
Consistency is key when naming UTM parameters. Use the following tips to keep your tracking clean and reliable:
- Always use lowercase letters.
- Replace spaces with underscores.
- Use a unified campaign name across platforms, such as spring_2025_launch.
A good formula for campaign names is: [season/event]_[year]_[purpose]. For instance, you could use spring_2025_launch for a product launch or blackfriday_2025_sale for a holiday promotion.
UTM Setup Errors to Watch For
Mistakes in UTM setup can disrupt your ability to track sales effectively. Here are some common issues to avoid:
-
Mixing Source and Medium: Ensure
utm_sourceidentifies the traffic source (e.g., twitter, linkedin), whileutm_mediumdescribes how users arrived (e.g., social, email, cpc). -
Using UTMs on Internal Links: Avoid adding UTM parameters to internal links on your site. This can overwrite the original traffic source and distort your analytics.
-
Inconsistent Campaign Naming: Don’t create a separate campaign name for each platform, like:
- twitter_spring_launch
- linkedin_spring_launch
- producthunt_spring_launch
Instead, use a single campaign name, such as spring_launch_2025, and rely on the
utm_sourceparameter to differentiate platforms.
Before launching, test all your tagged URLs to ensure they work as intended. To stay organized, use a simple spreadsheet to document all UTM parameters across platforms. Once you’ve set up your UTMs, you can connect them to Stripe using tracking tools for even deeper insights.
Connecting Stripe to Your Tracking Tools
Once your UTM parameters are all set, the next step is to link Stripe with your tracking tools. This connection lets you capture sales data and attribute revenue to specific YouTube channels and campaigns.
Setting Up Stripe Webhooks
To start, you'll need to create a secure endpoint capable of receiving POST requests from Stripe. Here's what your endpoint should do:
- Verify Stripe's signatures to ensure secure communication.
- Handle retry attempts for failed deliveries.
- Filter events to process only the ones you need.
In the Stripe Dashboard, make sure to select these key events:
checkout.session.completedpayment_intent.succeededcharge.succeeded
To test your webhook setup, use the Stripe CLI. When in live mode, Stripe retries delivery for up to three days using exponential backoff [2]. Once your webhooks are ready, you can automate data capture using tools like Zapier or Make.
Building Zapier and Make Workflows
 Zapier
Automate your workflows by connecting Stripe with your analytics tools. Here's a quick overview of how the process works:
Make sure to capture these critical data points:
- UTM parameters from the original link
- Transaction amount and currency
- Customer details
- Payment status
- Campaign source
To tie transactions directly to your campaigns, embed UTM data in your payment links.
Adding UTM Data to Stripe Sales
Updating your payment links with UTM parameters is crucial for accurate campaign attribution. Here's an example of what the link might look like:
https://yourwebsite.com/payment?utm_source=twitter&utm_medium=social&utm_campaign=spring_launch_2025&client_reference_id=tw_campaign_123
For proper tracking, configure the following:
- Set confirmation behavior to
redirectin Stripe's settings. - Use
client_reference_idto link transactions back to specific campaigns. - Add a tracking script to your website for seamless data collection.
"Modify your payment link with URL parameters and Urchin Tracking Module (UTM) codes to get insight into customer behaviors and your marketing strategy's effectiveness. These tools help identify the source of your traffic and the marketing campaigns leading to the most conversions." - Stripe Documentation [1]
To maintain attribution data throughout the checkout process, store UTM parameters in a first-party cookie when visitors land on your site. This ensures the data remains intact, even during Stripe checkout redirects.
It starts here
If you made it this far, it's time to grab 10 free links.
10 smart links included • No credit card
Reading and Using Sales Analytics
With UTM parameters and Stripe webhooks set up, you can now dive into analytics to evaluate your efforts and pinpoint the channels driving the most revenue. This insight helps you allocate your marketing budget more effectively.
The next step? Configuring Google Analytics 4 (GA4) to gather and analyze these insights.
Setting Up Google Analytics 4
 Google Analytics 4
To ensure accurate tracking during the checkout process, add checkout.stripe.com to your referral exclusion list. This prevents attribution issues that might arise during payment processing [4].
You’ll also need to set up custom GA4 conversion events to track Stripe transactions. Here’s a breakdown of key events to configure:
Make sure to install tracking code on all purchase-related pages. This links visitor sources to transactions, giving you a clearer picture of where your revenue is coming from [3].
Measuring Campaign Revenue
By connecting UTM parameters to Stripe sales data, you can measure essential metrics like:
- Transaction volume and value by channel
- Customer acquisition cost (CAC) for each platform
- Revenue trends across campaigns
- Customer lifetime value (LTV)
"When we onboard a new client with an eCommerce store, we ask the client what products or categories they make the most margin on. If it's a subscription business, we ask the client what is the average time length that the subscriber stays with them, that way we can understand the potential ROI from the campaign." - Anatoly Zadorozhnyy, CEO, Marketing1on1 [5]
A good benchmark to aim for is an LTV to CAC ratio of 3
- essentially earning $3 in revenue for every $1 spent on marketing [6].After gathering these revenue metrics, the next step is to visualize your data effectively through custom dashboards.
Building Sales Tracking Dashboards
Dashboards are an essential tool for making sense of your sales data. Here’s how you can structure them:
"AgencyAnalytics allows us to make data-informed decisions quickly. Clients also have access to an all-in-one marketing dashboard to see how each channel performs. This allows us to work together and optimize campaigns to get clients the best ROI." - Ben Spray, Managing Director, We Are Marketable [7]
For deeper analysis, consider using Stripe Sigma to export key metrics into Google Sheets. This makes it easier to spot trends in customer behavior and sales patterns [8][9]. Keep an eye on refund rates and churn, as these can highlight areas needing improvement [7].
With these analytics tools, you’ll be equipped to fine-tune your campaign strategies and identify new opportunities for growth.
Tracking Sales with PIMMS
 PIMMS
PIMMS
PIMMS takes your UTM and Stripe integrations to the next level, offering a more streamlined way to track campaigns and gain deeper insights into performance.
Social Media to Stripe Deep Links
With PIMMS, you can create precise deep links that capture user journeys and referral sources, giving you a clearer picture of your campaign's effectiveness [10].
Here’s how to make the most of your deep links:
To maximize results, ensure these links open in native apps instead of in-app browsers [11]. This approach fits seamlessly with PIMMS' unified analytics, which we’ll dive into next.
UTM Tracking and Analytics
PIMMS connects your marketing efforts directly to revenue, providing a real-time analytics dashboard that tracks:
- Click-through rates across platforms
- Conversion events
- Sales attribution
- Geographic trends
- Device preferences
The platform also integrates with Tally.so, allowing you to track form submissions as conversions [12]. Beyond UTM tracking, PIMMS steps up its game with dynamic QR codes, which are explained in the following section.
QR Codes for Payment Tracking
Dynamic QR codes generated by PIMMS offer a simple yet powerful way to track sales [13]. For example, one solo founder reported that QR codes accounted for 60% of e-book sales, leading to a 30% increase in total sales [14].
The growing relevance of QR codes is hard to ignore. The market was valued at $9.98 billion in 2022 and is expected to grow at a compound annual growth rate (CAGR) of 16.9% through 2030 [14].
Here’s why dynamic QR codes stand out:
These features make QR codes a versatile tool for tracking sales across campaigns and platforms. With PIMMS, you can harness these tools to refine your marketing strategies and drive results.
Conclusion: Sales Tracking Next Steps
Now that the technical setup is in place, here’s how to take your tracking to the next level with strategic improvements.
Start by standardizing UTM parameters. For example, Redfin’s use of utm_campaign, utm_medium, and utm_source highlights how consistent tracking can deliver clear insights [15].
"UTM parameters are a great way to figure out where your traffic is coming from and how users from specific sources of traffic behave on your site."
- Neil Patel, Co-Founder of NP Digital & Owner of Ubersuggest [15]
Consider the approach taken by Gniewko Oblicki, who added UTM tracking to email signatures. This simple tweak resulted in 1,682 sessions across five campaigns [15]. It’s proof that even small changes can drive measurable results.
To ensure continued growth, focus on these core actions:
- Regular Performance Analysis: Continuously track and evaluate key metrics to keep your system efficient and scalable.
- Technology Integration: Use tools that enhance growth while maintaining precise data tracking.
- Process Documentation: Create clear guidelines for UTM usage and tracking workflows to maintain consistency.
FAQs
How can I set up UTM parameters to accurately track sales from Twitter, LinkedIn, and Product Hunt?
To set up UTM parameters for tracking sales effectively, start by sticking to a consistent naming system for each parameter. For instance, use sources like twitter, linkedin, or producthunt, pair them with a medium such as social, and choose a clear campaign name like spring_sale. Keeping things consistent makes it easier to analyze your data later.
Leverage a UTM builder to generate your links and ensure all parameters are formatted correctly. Remember, UTM parameters are for tracking external traffic, so avoid using them on internal links. Before launching, test your UTM links to verify they work as expected and that the data appears accurately in tools like Google Analytics or Stripe. This step ensures you can confidently track the results of your YouTube campaigns.
What are the advantages of connecting Stripe with tools like Zapier or Make for tracking sales, and how can I set it up?
Integrating Stripe with tools like Zapier or Make can be a game-changer for managing and tracking sales. By connecting these platforms, you can automate tasks like logging sales data, updating customer information, or sending out notifications. This not only saves time but also helps minimize errors. Plus, it allows you to access real-time insights by linking payment events with your marketing and engagement data, enabling smarter, more informed decisions.
Getting started is straightforward. Create an account on Zapier or Make, then connect your Stripe account. From there, set up a trigger - like "New Payment" - and define the actions you want to automate. For example, you could add sales data to a Google Sheet or send an email alert. The best part? You don’t need any coding skills, which makes this setup perfect for solo entrepreneurs or small teams looking to streamline their workflows.
How can I use dynamic QR codes to track offline campaigns and measure their impact on sales?
Dynamic QR codes offer a smart way to track offline campaigns and measure their impact on sales. When placed on items like flyers, posters, or product packaging, these codes can guide customers to specific online content while collecting useful insights. You can track details like how many times the code was scanned, where the scans happened, and what users did after scanning. This data helps you assess your campaign's performance and adjust your strategies accordingly.
One standout feature of dynamic QR codes is their ability to be updated even after printing. You can modify the linked content without needing to reprint your materials, making it easy to tweak campaigns in real time based on how they're performing. This adaptability allows you to fine-tune your marketing efforts and get better results from your investment.


